Home
Common Techniques
Classroom Experiments
Virtual Experiments
Games and Tutorials
Glossary
About This Site
Contact Us
ZFIN
Cite Us
How to make/use tools for handling zebrafish
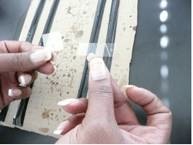
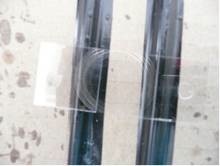
How to Make Embryo Loops
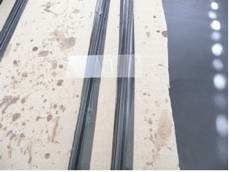
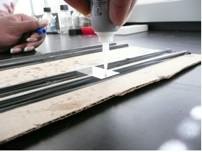
Embryo loops are useful for orienting and pushing the embryos around gently for observation with a microscope. These are constructed with small capillary tubes, fishing line, and super glue. They are relatively easy to put together, and each person should make a couple of them in case replacements are needed. There are four simple steps:
1. Cut a small piece of fishing line (about half an inch).

2. Bring the ends of the fishing line together to create a small loop.

3. Put the ends into one hole of the capillary tube, ensuring that the fishing line is still in its loop conformation.

4. Once the small loop of fishing line is inside the capillary tube, pour super glue into and around the capillary tube opening to guarantee that the loop remains inside the tube.
|
|


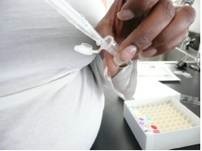
How to Make and Use Pipettes
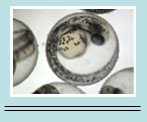
In a zebrafish laboratory, two different pipettes are commonly used. The glass Pasteur pipettes are used to collect the embryos because the hole in the tip is very small, and the plastic Pasteur pipettes are used to collect the actual zebrafish because the hole in the tip is much larger. Other than the size difference, they also differ in the kind of bulb they employ to suction the liquid and specimen. For the glass pipettes, a rubber bulb is needed, but for the plastic pipette, the bulb already comes attached to the stem. Both pipettes work the same:

1. Gently squeeze the bulb. (Attach the rubber bulb to the glass pipette first).

2. Slowly lower the pipette into the liquid, aiming to collect the specimen.

3. Gently raise the pipette, allowing a small amount of liquid to enter along with the specimen.

4. Transfer the specimen and liquid onto a slide or whatever else you will be using to make your observations.

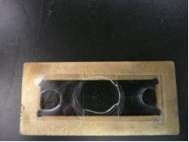
How to Make Brass Rings
In microscopy, brass rings are often used to observe a thicker section of an embryo. They provide stability for flimsy cover slides. Follow these steps below:
1. Place a clean cover slide onto an elevated surface.
2. Place a couple of droplets of superglue onto the two sides of the cover slide.
3. Place a cover slip over the superglue on each side of the slide. (You may stack as many as up to 3 cover slips on each side depending on how thick the object is that you are observing. Just superglue the cover slips to each other.)
4. Allow the slide to dry.
5. Pipette a droplet of glycerol in the middle of the slide.

6. Place the specimen in the glycerol. (If the specimen is already in the glycerol, just pipette the both of them together.)
|
|

7. Place the slide on a brass ring.
|
|