
Home
Common Techniques
Classroom Experiments
Virtual Experiments
Tutorials
Games
Glossary
Links
Publishing
Opportunities
About This Site
Contact Us
ZFIN
Cite Us
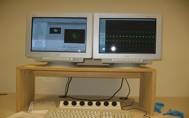
How to use a Confocal Microscope
Confocal microscopy is a technique for obtaining high-resolution optical images. The key feature of confocal microscopy is its ability to produce in-focus images of thick specimens, a process known as optical sectioning. Images are acquired point-by-point and reconstructed with a computer, using lasers to image the specimen one plane at a time. This allows for the focus of the specimen at many layers. Thee directions are for a Leica confocal microscope.
Confocal microscopes contain the following:
• Pinhole to exclude out-of-focus light
• Point illumination to focus the image onto one plane
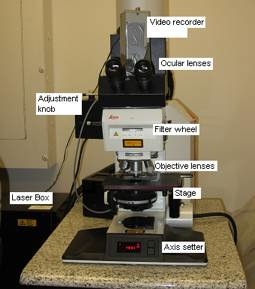
Protocol: Leica Confocal Microscope Guidelines
1. Power switches
- Microscope Power switch: open circle button
- Transmitted light (for Brightfield): triangle button
- To see through the eyepieces, set to VIS and not SCAN
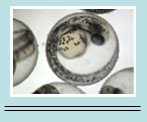
2. Brightfield Image
- Make sure brightness is on lowest setting
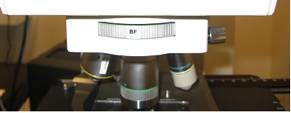
- Filter wheel: set to open position
- Bottom dial: set to BF (brightfield)
Begin with lowest power objective and systematically work to highest objectives. Make sure the objective does not collide with the stage. Adjust focus knobs.
3. Fluorescent Image
- Place appropriate filter above sample using the filter wheel. Green Fluorescent Protein (GFP) samples require blue excite filters
- Turn off the transmitted light (press the triangle button)
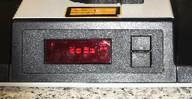
- After sample is in focus, press the top SET button until it says
ZERO to set this as the zero focus point
4. Confocal Lasers
- Activate fans by turning on both red switches on the laser box
- Turn on the lasers you intend to use
- Top kep is GFP. It turns on lie the ignition in a car: turn it a little past 90° clockwise.
5. Confocal Software
- Set Z-scan to Z-wide
- Use the detection window to adjust the overlap of lasers if necessary
- Set the speed
- Set scan to continuous
- Set parameters
- Adjustment knobs are labeled onbottom of computer screen.

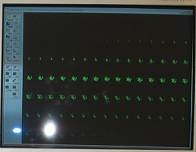
- Use the QLUT botton to determine what is over or underexposed
- Gain – upper limit; set so that only the brightest pixels are blue
- Offset = lower limit; set so that the background (or areas with no signal) has ~50% green pixels
- Finally, click QLUT to go back to the single color picture
- Series Images (Z-stack)
- Set high and low points using continuous: move up and down the image with Z-scan
- Turn Z-scan and go to top of image. This is the beginning
- Turn Z-scan and go to bottom of image. This is the end.
- Click SERIES and create series images.
- Watch the images accumulate using GALLERY
- 3 –D Animation
- Click Process
- Click Projection with Animation